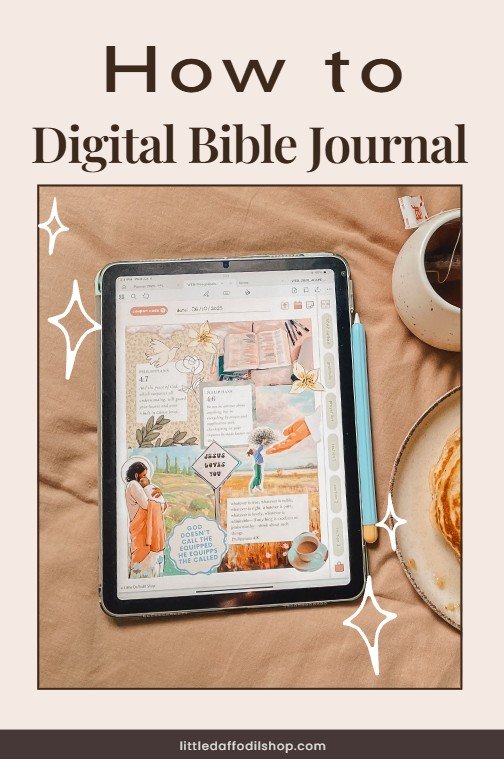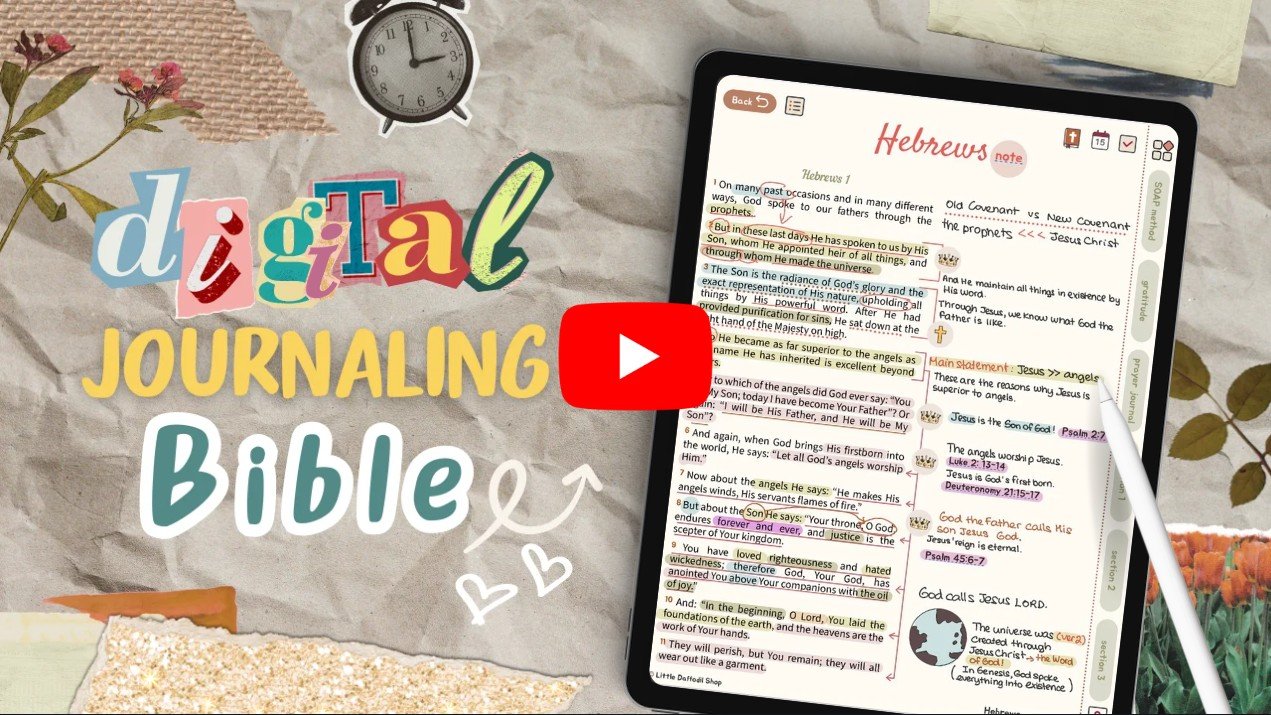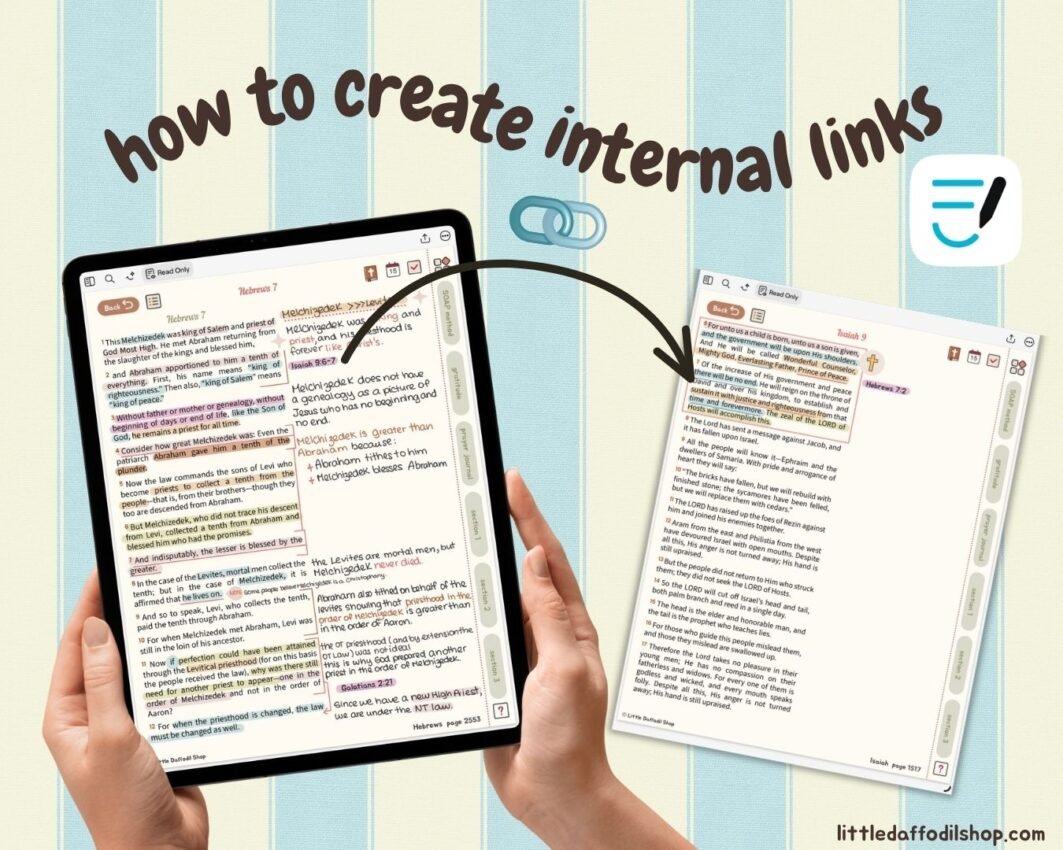

If you own an iPad or tablet, you have to try digital Bible journaling.
It is a way to combine the creativity of traditional Bible journaling with the convenience and flexibility offered by your device and note-taking app. It’s more beginner-friendly and portable than traditional Bible journaling. You can read more about the advantages of digital Bible journaling here.
In this post, I will show you how to get started with digital Bible journaling in three easy steps.

Step 1: Download a note-taking app
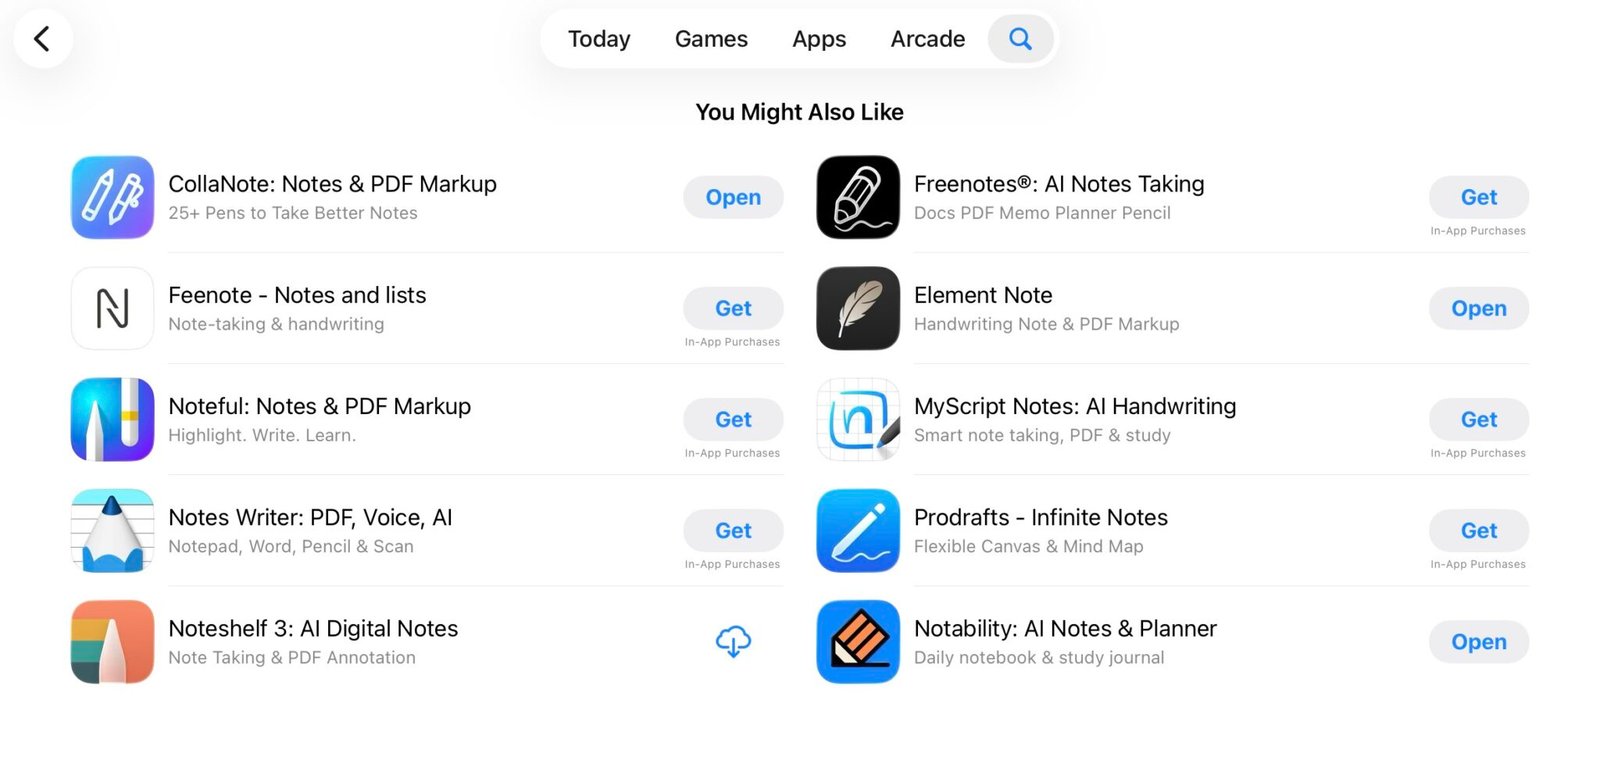
The first thing you’ll need is a note-taking app.
I personally use GoodNotes, but there are many other great apps out there. Find my recommendations below.
- For iOS: GoodNotes (free version, one-time purchase, subscription), Notability (subscription), Collanotes (free version, one-time purchase)
- For Android: Penly (one-time purchase), Samsung Notes (free)
Whatever app you choose, make sure it supports interactive PDF files.
Step 2: Get a digital journaling Bible
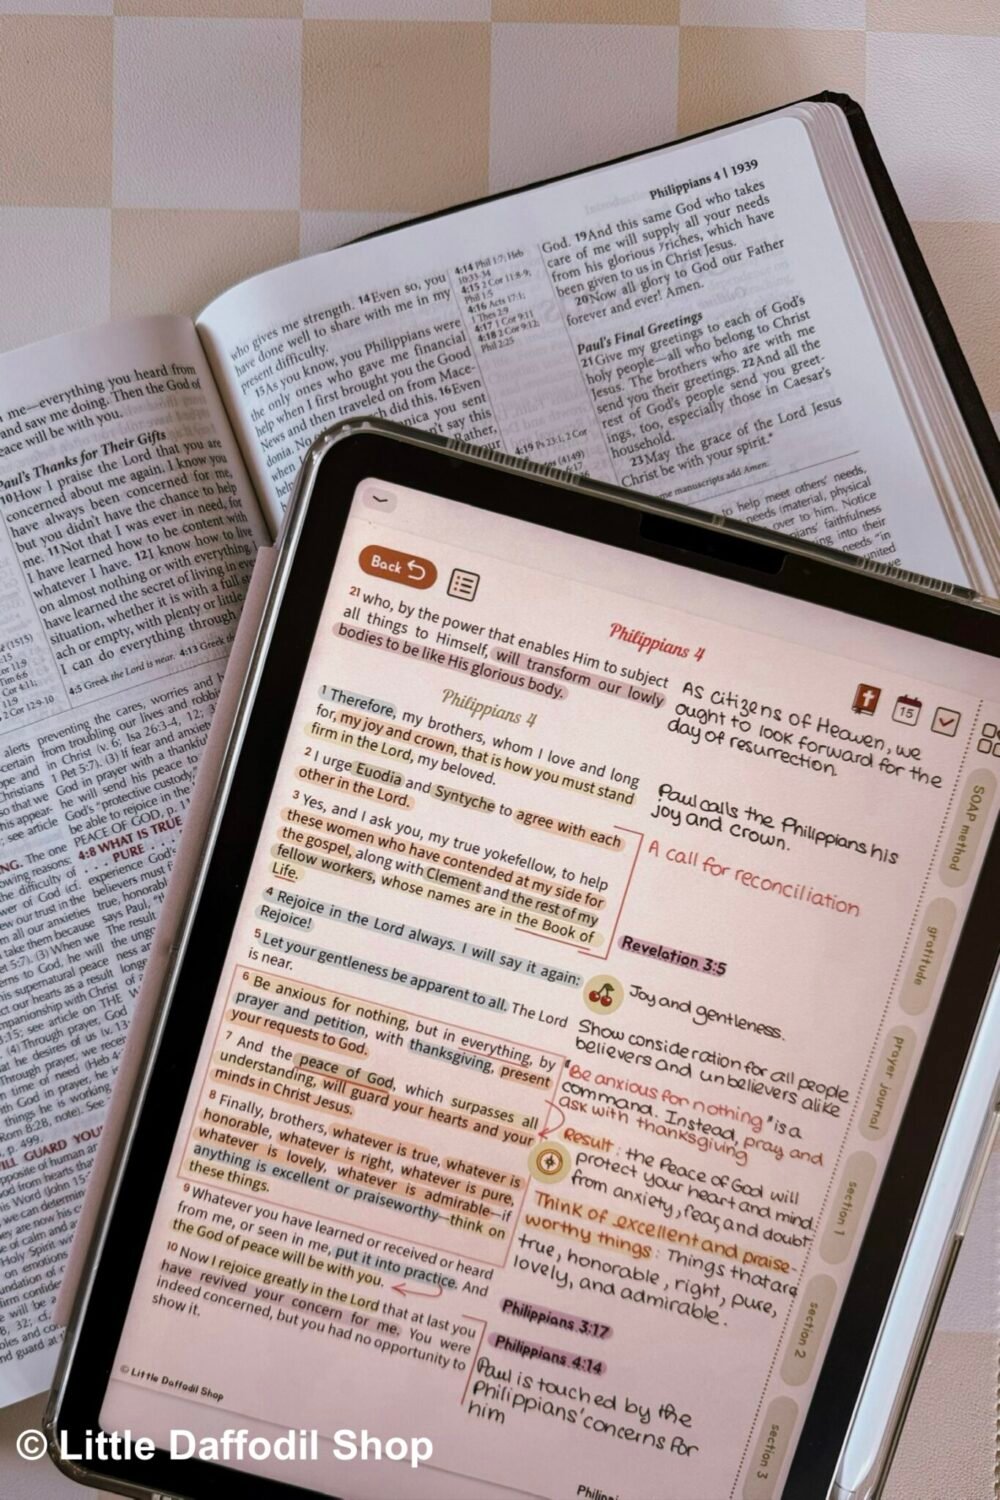
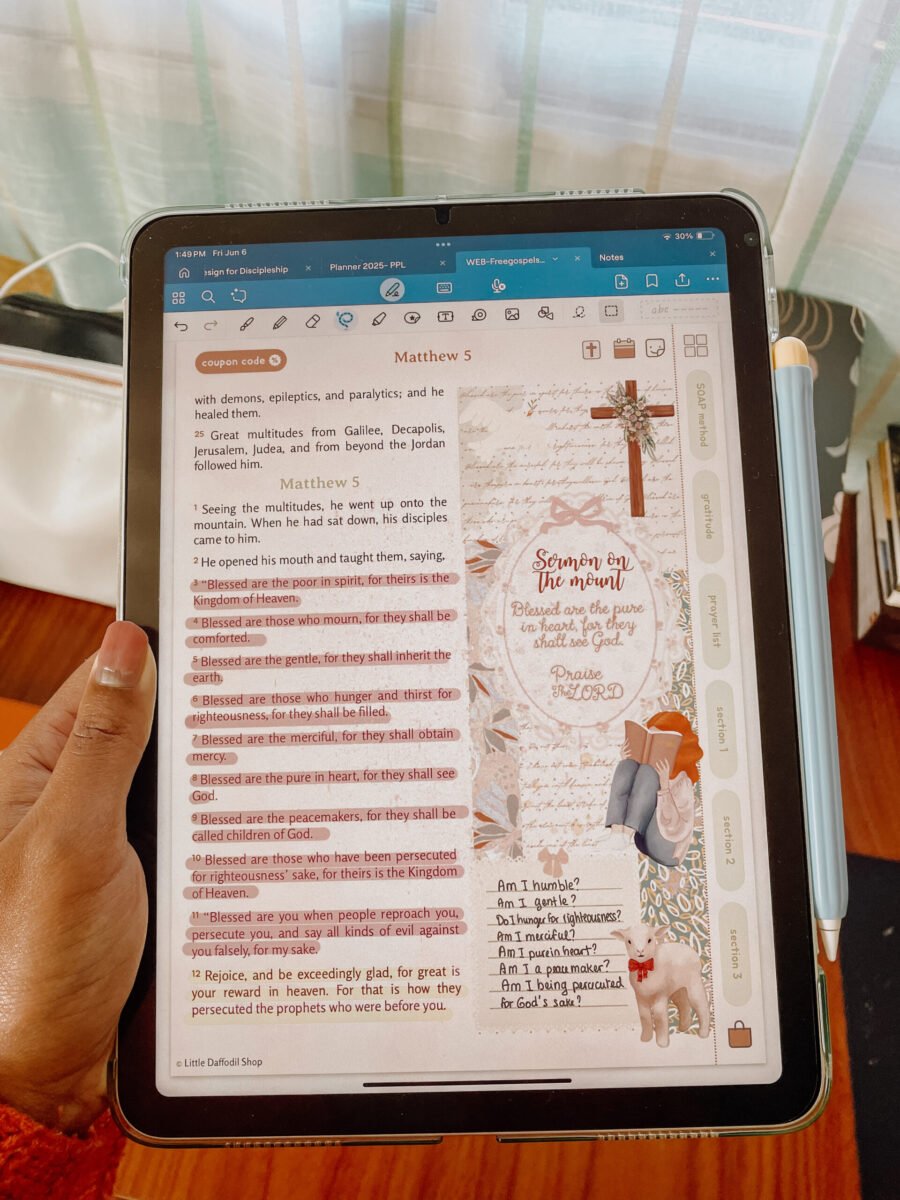
Next, you need a digital journaling Bible file specifically formatted for note-taking. These are interactive PDFs designed with large margins for note-taking. They are usually hyperlinked so you can jump between books and chapters with a single click.
You can purchase a digital journaling Bible on Etsy or my website HERE.
🎁Want to start for free?
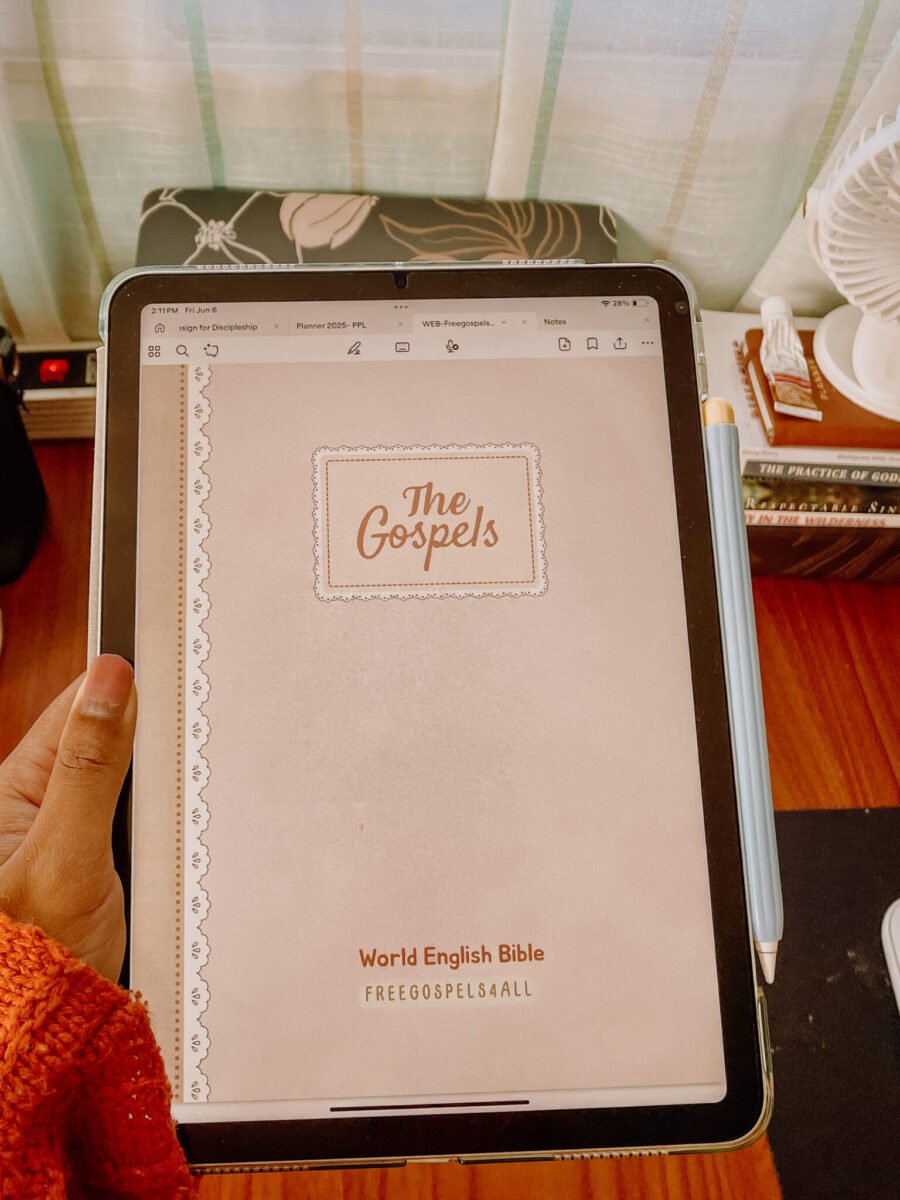
You can grab our FreeGospels4All journaling Bible by joining my free membership! Sign up HERE and download your copy instantly.
Step 3: Import the Bible into your note-taking app
Once you’ve downloaded your digital journaling Bible, import it into your app. This is usually done by using the Share button or the import option in your app.
Most note-taking apps have a Read-only mode and Editing mode that you need to know to navigate and write in your Bible.

- Read-only mode: Turn this on when you want to use the Bible hyperlinks and navigate through to a specific book or a section tab.
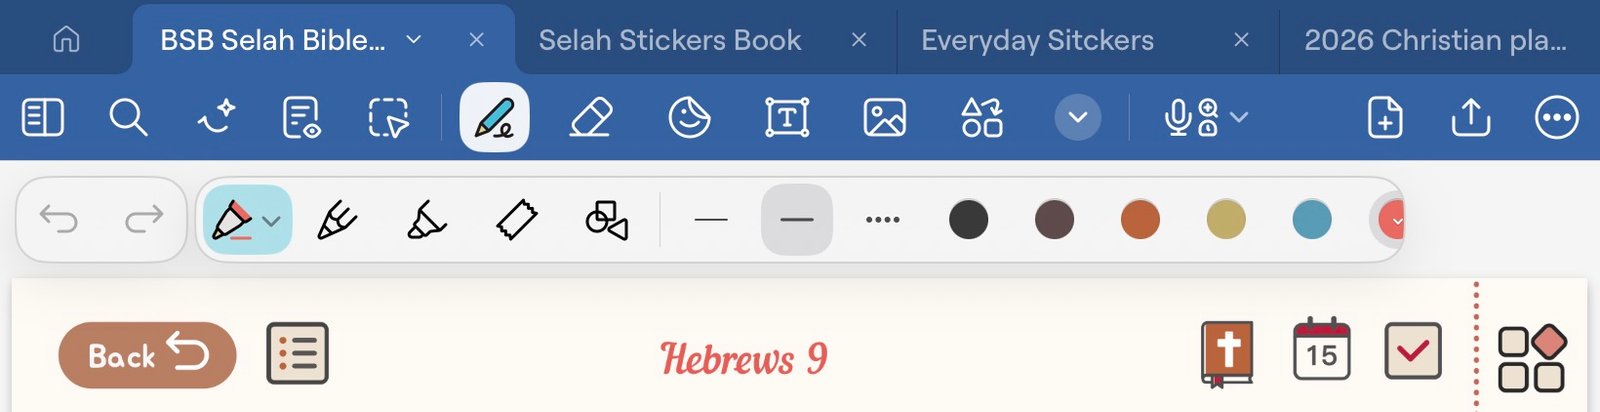
- Edit mode: Switch to this mode to write, highlight, and add images or digital stickers to your Bible.
And that’s it! Now you’re ready to start digital Bible journaling.