Disclaimer: This post may contain affiliate links. If you buy through a link, I may receive a commission.
Did you know you can make your own stickers at home? In this tutorial, I’ll show you how to create custom stickers in just three easy steps using materials you probably already have.
What you will need
- PNG clipart files
- Matte or glossy sticker paper
- An inkjet printer
- Scissors
- A free Canva account
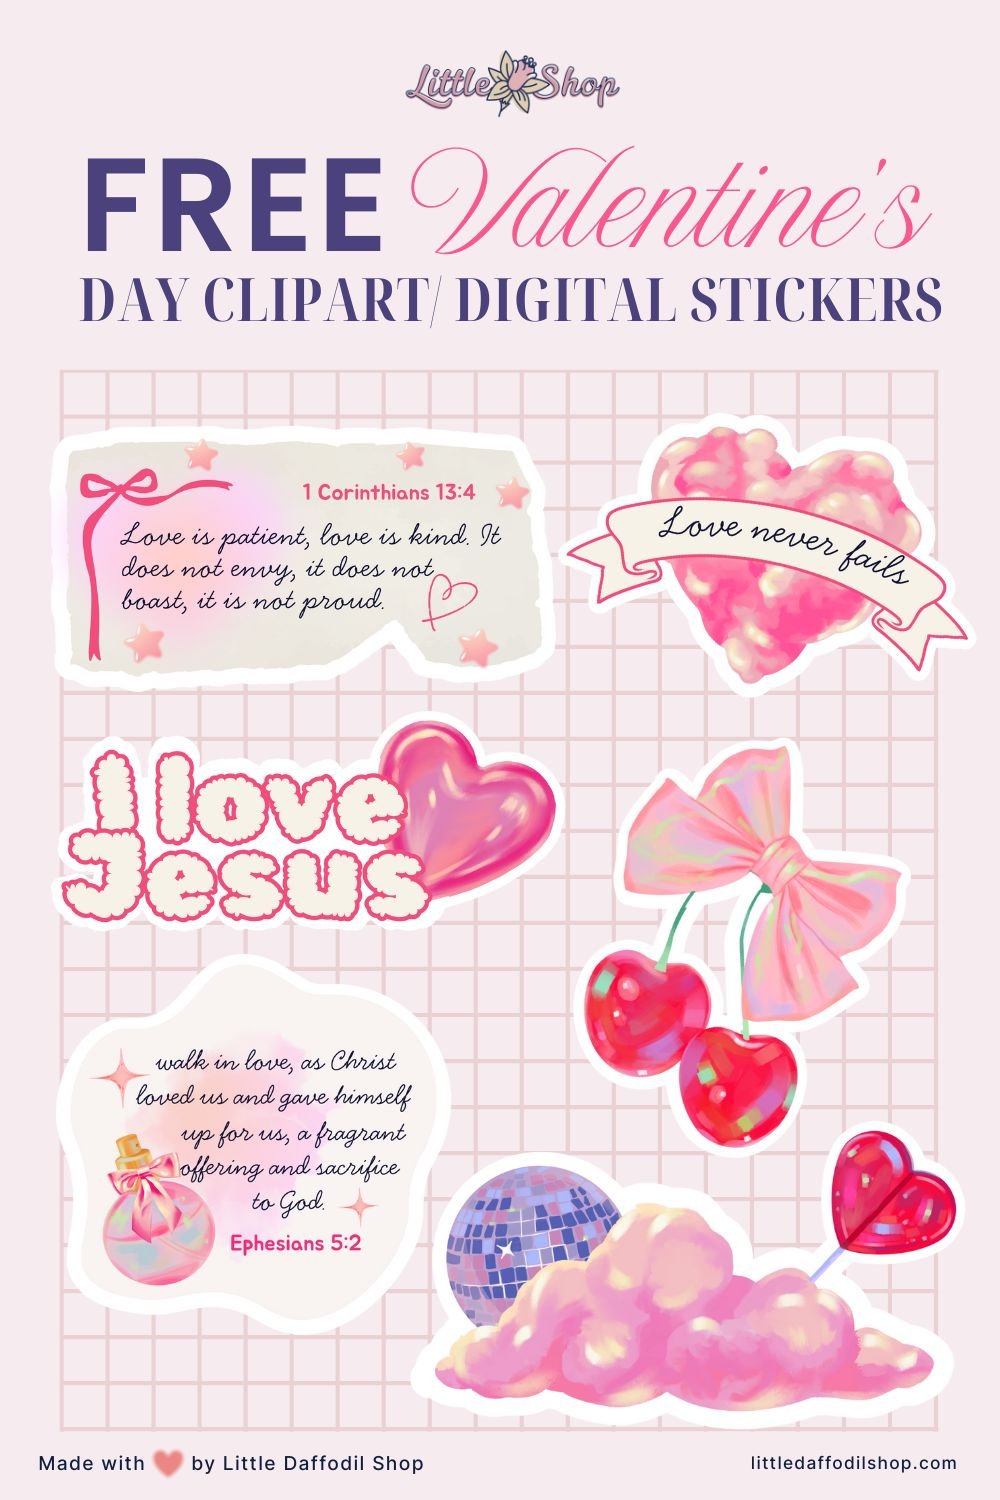
Step 1: Choose your clipart
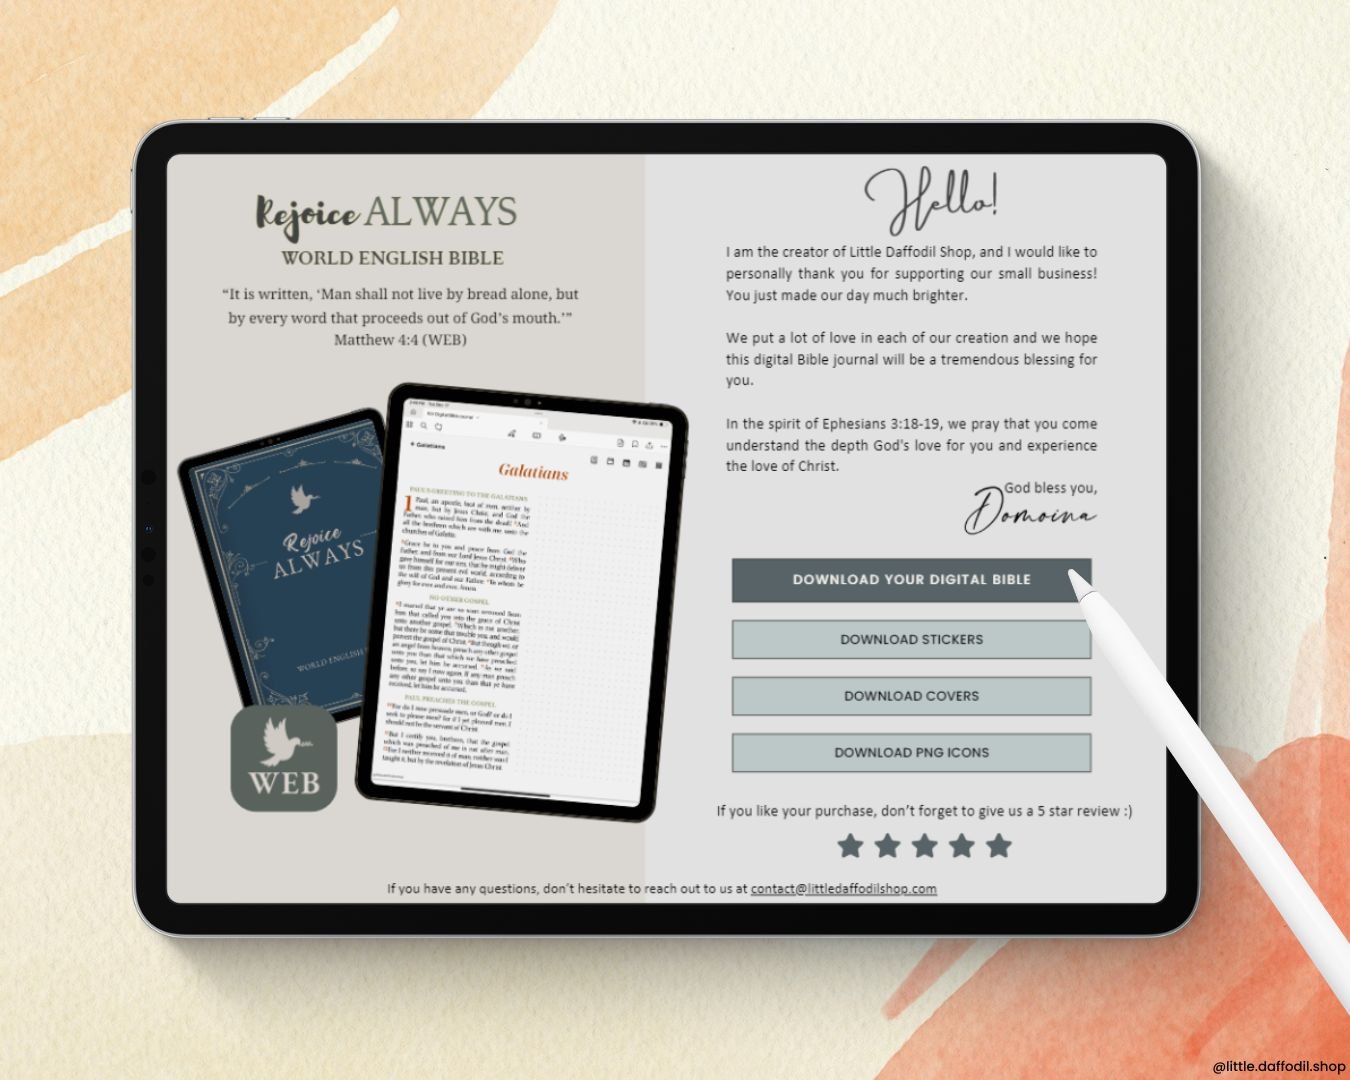
Select the clipart or PNG digital stickers you would like to use. You can get started for free here on Little Daffodil Shop, where we regularly provide free high-quality PNG clipart. To access the freebie library, sign up for a free membership here.

Step 2: Upload your stickers to Canva
Next, create an 11 by 8.5 inch document in Canva. Then upload all your selected PNG files into the document and rearrange and resize them on the page. Just make sure to leave enough space between them so you’ll have room to cut them out later.
Save it as a PDF print for best print quality.

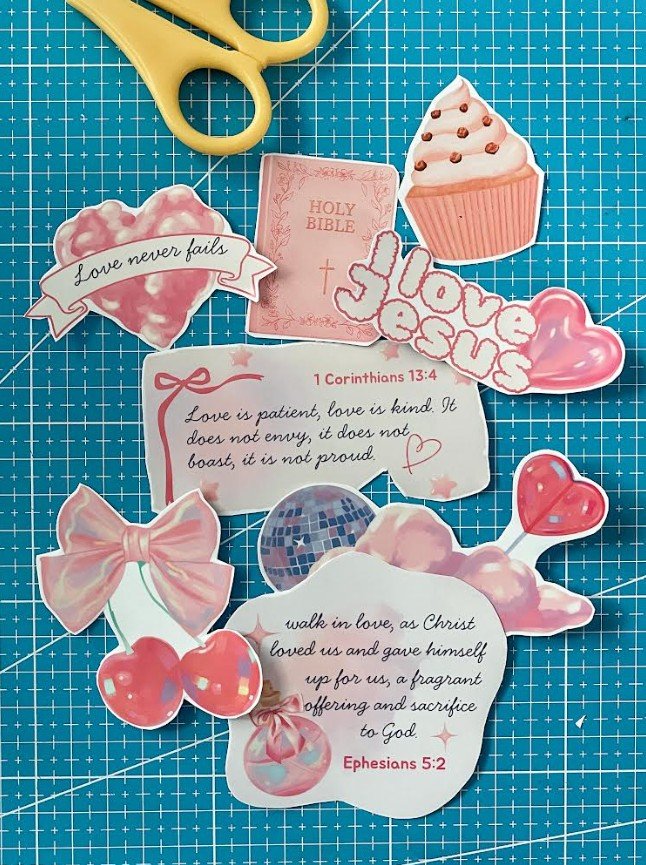
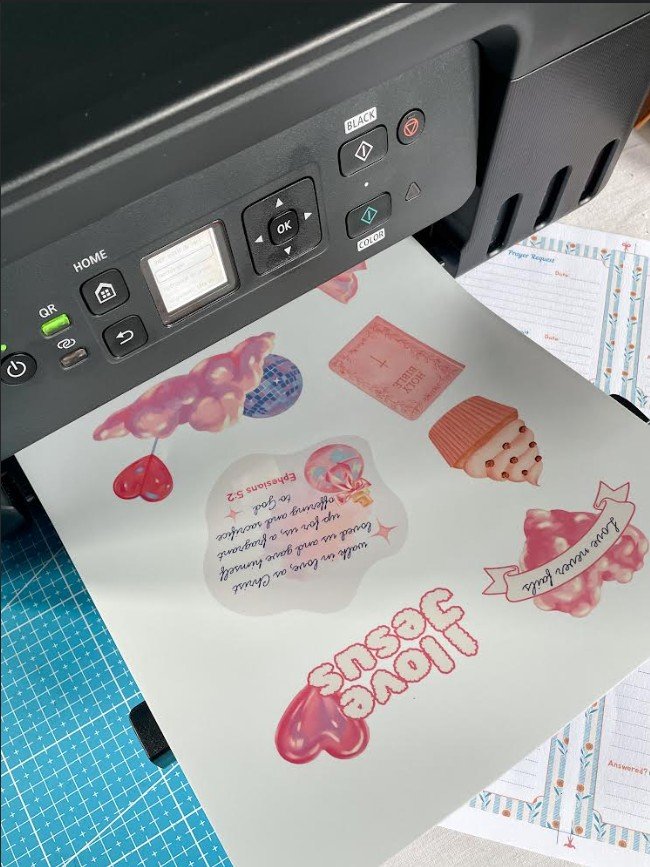
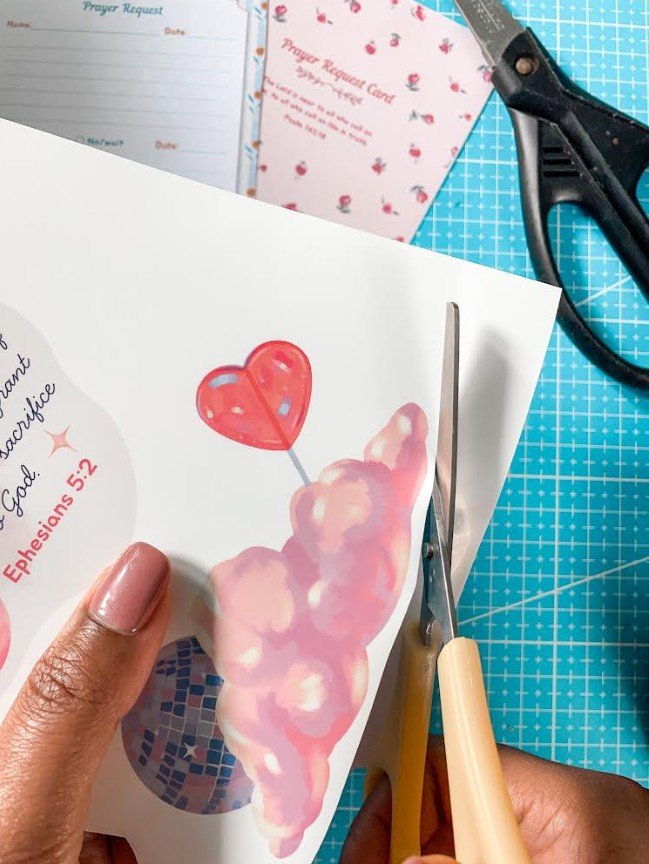
Step 3: Print and cut your stickers
Before printing your stickers, make sure to select the correct printer settings such as:
- The paper type (glossy or matte)
- The paper size (US letter or A4)
- The print quality (high or best)
When loading the sticker paper, make sure the printable side is facing the correct direction. For my printer, a Canon G3270 inkjet Printer, the printable side is loaded facing up.
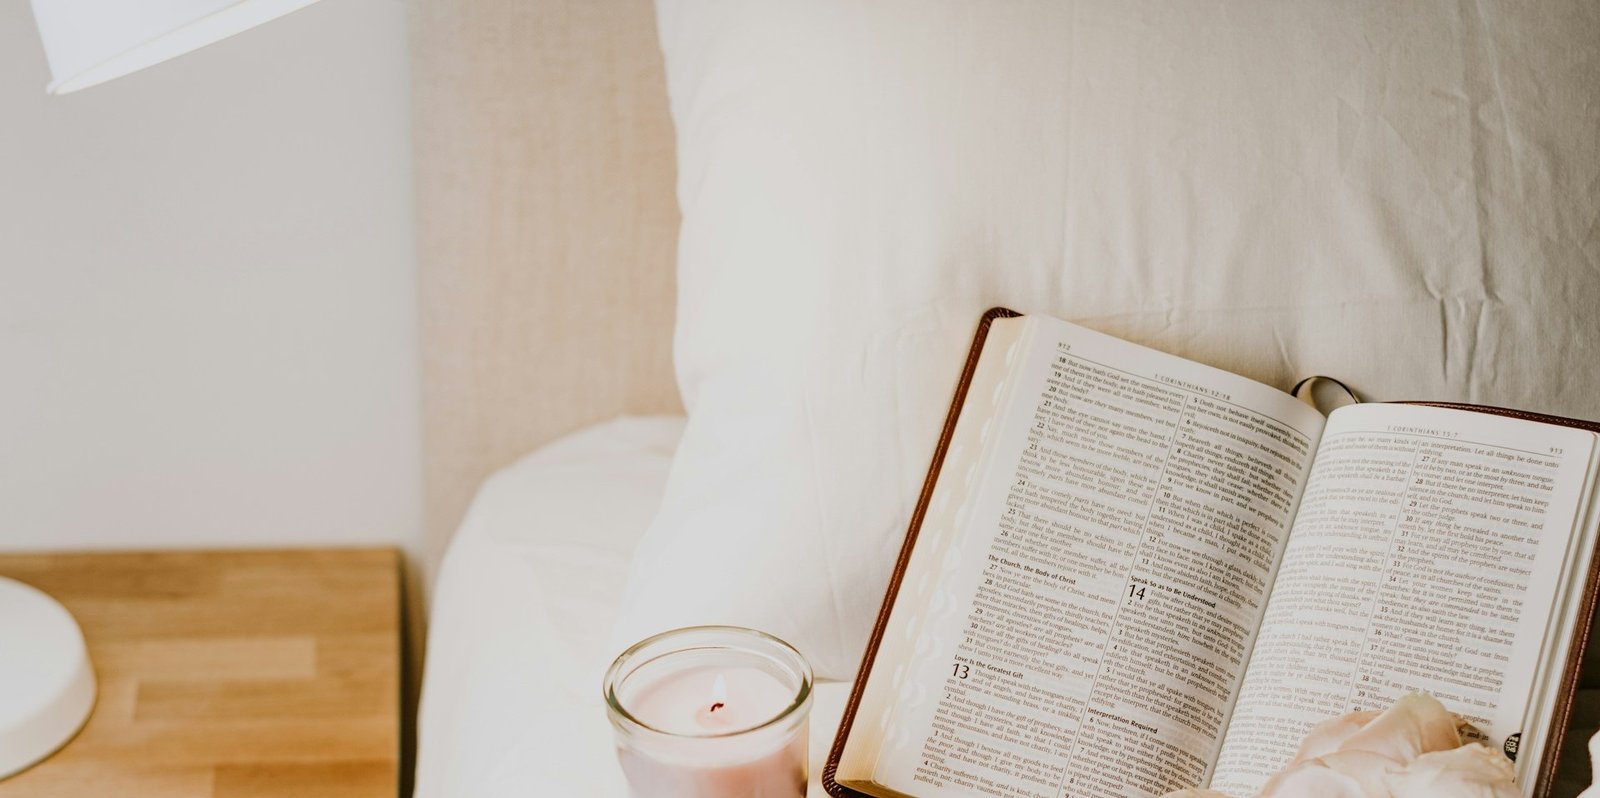
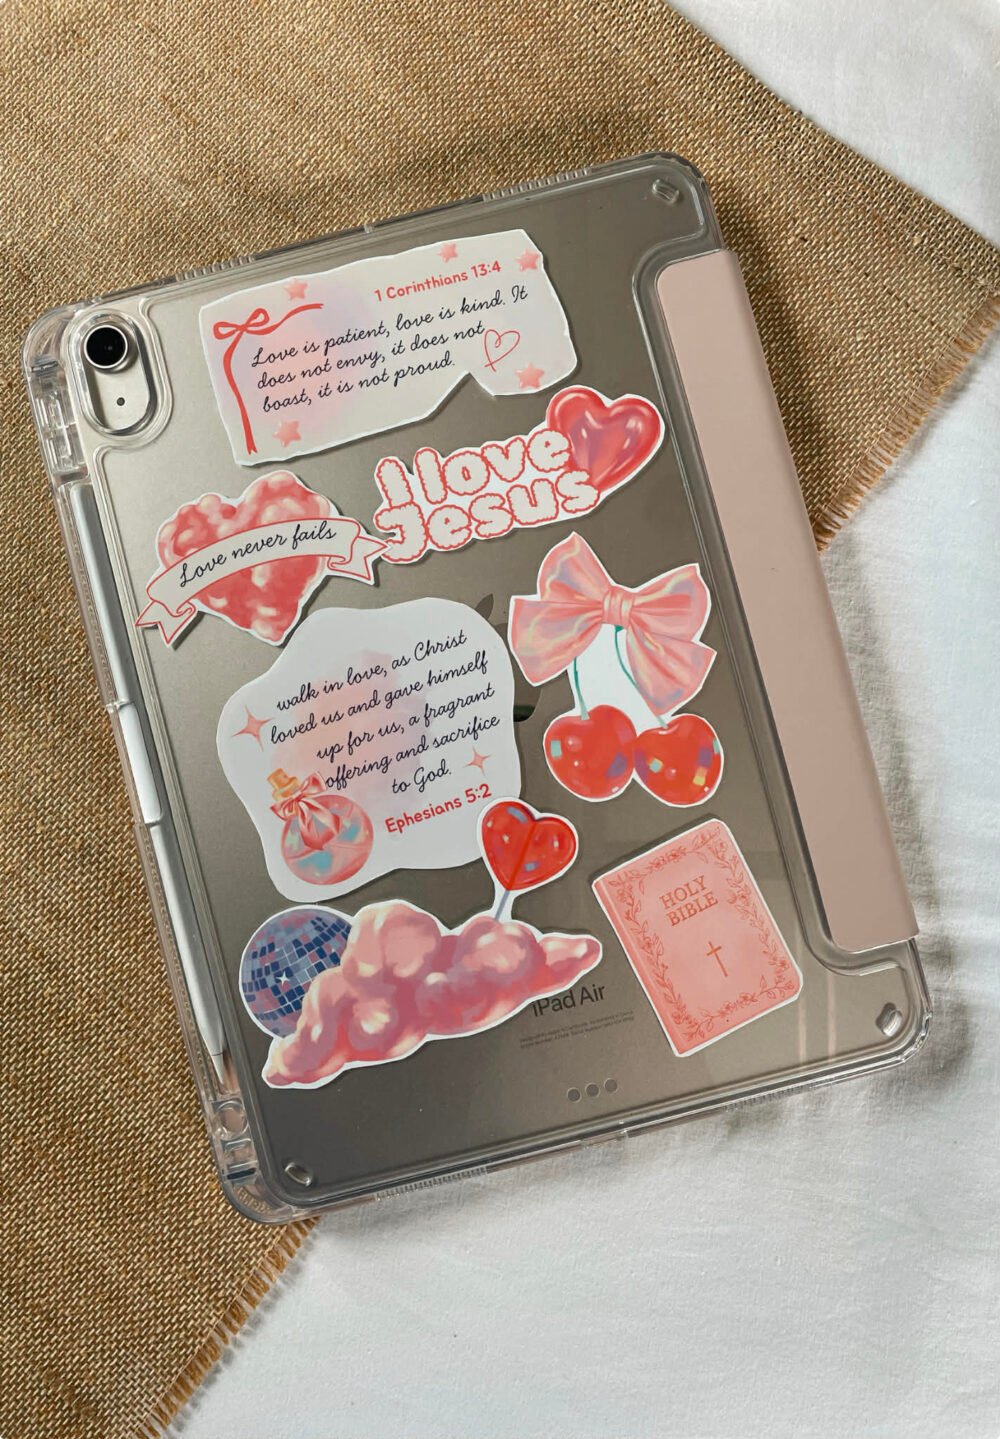
Once printed, allow a few minutes for the ink to dry before touching the paper. After that, you can cut out your stickers and use them to decorate your journal, water bottle, iPad case, etc.
Now, your turn to create homemade stickers 🙂